
이번 포스트는 “React 환경 설정” 법에 대해서 공부한 내용을 정리해보았습니다. “React 환경 설정”은 yarn을 설치한 뒤, CRA를 통해서 간단하게 완료할 수 있습니다.
우선 yarn이란 무엇인지 정리하였습니다.
yarn 설치하기
npm의 역할과 동일하지만 npm보다 성능적으로 개선된 yarn을 설치해줍니다.
npm install -g yarn설치 확인하기
yarn -vyarn으로 패키지 설치
yarn add [설치할 패키지 이름]

// 예시: yarn add react-router-dom
javascript 런타임 종류
런타임이란? 프로그래밍 언어가 구동(running)되는 환경(environment)을 의미합니다.
자바스크립트는 2가지 대표적 런타임을 가지고 있습니다.
- 브라우저(ex : Chrome, Microsoft Edge, Firefox)
- node환경
즉, javascript 파일을 실행할 수 있는 방법이 2가지가 있다는 뜻입니다.
하지만 브라우저를 통해서 개발을 해야 하는데요.
이는 아래와 같은 함수들은 node 환경에서 실행하며 오류를 발생시키기 때문입니다.
브라우저 런타임 환경이 아니면 오류가 발생하는 함수들
alert(): 모달 대화 상자에서 사용자에게 메시지를 표시합니다.window: DOM 문서가 포함된 창을 나타냅니다. 전역 범위에 적용되는 함수 및 속성입니다.document: 브라우저 창에 로드된 DOM 문서입니다.localStorage및sessionStorage: 브라우저에 키-값 쌍을 저장할 수 있는 웹 저장소 개체입니다.navigator: 브라우저에 대한 정보를 제공합니다.
// 아래 파일을 node 환경에서 실행하면 오류가 발생해요!

try {
    // This will fail in Node.js
    alert("This is an alert message!");

    // This will also fail in Node.js
    console.log(window.location.href);

    // This too will fail in Node.js
    console.log(document.title);

    // Another failure in Node.js
    localStorage.setItem('key', 'value');

    // And this will fail as well
    console.log(navigator.userAgent);
} catch (error) {
    console.error("Error: This code must be run in a browser environment.");
    console.error(error.message);
}
React 환경 설정 도우미. CRA
CRA는 React 프로젝트 개발에 필수적인 요소를 명령어 하나로 쉽게 구성할 수 있게 해줍니다.
React 프로젝트를 시작하면 WebPack, Babel, ESLint 등 처리해야 할 구성이 많습니다.
그러나 이러한 세부 사항은 Create React App이 자동으로 처리하므로 걱정할 필요가 없습니다.
이렇게 반복적으로 동일하게 작업 해야하는 걸 한 번에 찍어낼 수 있게 해주는 것을 보일러플레이트 라고 부릅니다.
yarn create react-app [프로젝트명] #프로젝트 생성!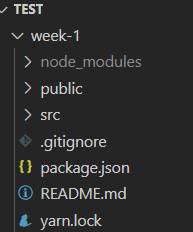
NVM. 프로젝트 생성이 제대로 되지 않는 경우
설치한 노드 버전이 CRA를 지원하지 않는 경우가 있습니다.
LTS가 아닌 경우, 노드 버전을 확인하시고 다시 설치해주세요.
저는 16.18.0 버전으로 진행을 해보았습니다.
프로젝트 디렉토리로 이동 후에 node.js의 버전을 관리하는 NVM(Node Version Manager) 명령어를 다음과 같이 입력하면 됩니다.
우리가 사용할 버전의 Node를 설치해주세요.
nvm install 16.18.0해당 버전을 사용하겠다고 선택해주세요.
nvm use 16.18.0버전을 확인해주세요.
node --versionCRA로 생성한 프로젝트 실행하기
프로젝트 디렉토리 이동 후에, 다음 명령어로 생성한 프로젝트를 실행 할 수 있습니다
cd 프로젝트명
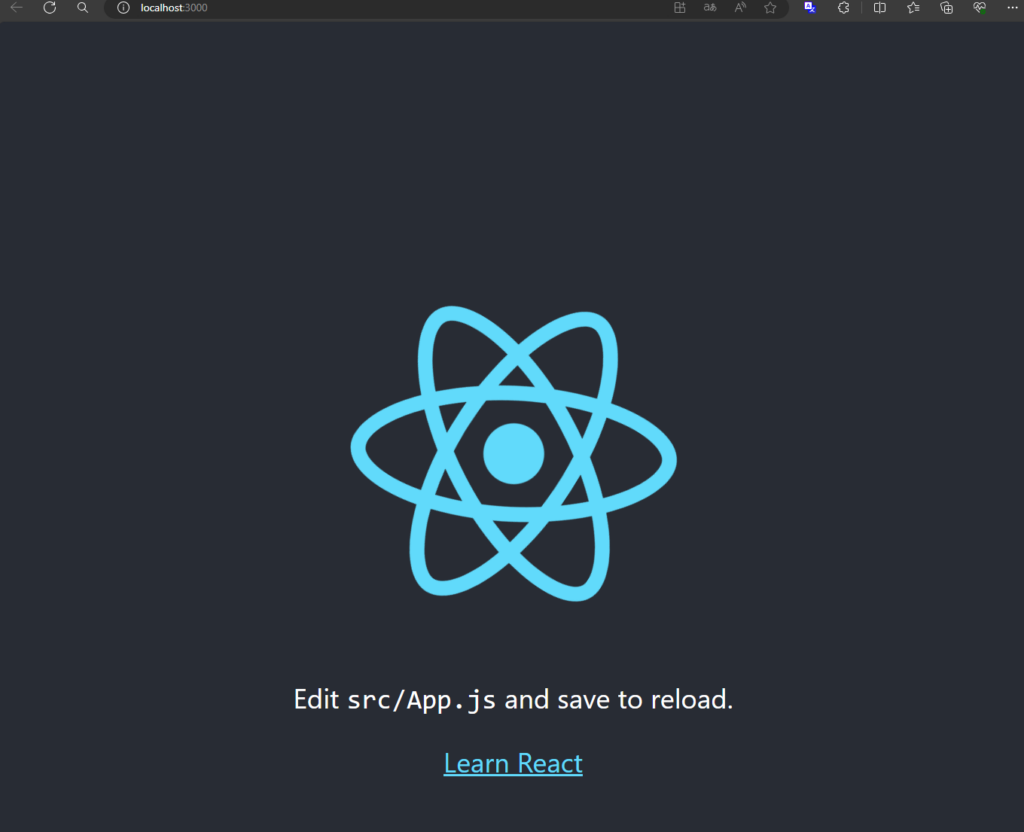
yarn start이제 http://localhost:3000로 접속하면 React가 정상 작동 됨을 확인 할 수 있습니다.
React 프로젝트 구조
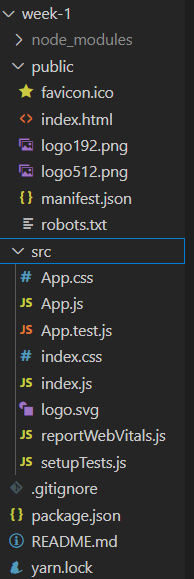
public > index.html → src > index.js → src > App.js 결국 가장 메인으로 다룰 파일은 App.js입니다.
index.html
React는 SPA이기 때문에 html이 간단합니다.
이중 id가 root인 div 태그가 중요합니다.
이 태그를 가지고 가지고 index.js에서 ReactDOM을 생성하기 때문입니다.
여기서 랜더링을 명령하는데 이 랜더링의 주체는 app.js 입니다.
<!DOCTYPE html>
<html lang="en">
  <head>
    <meta charset="utf-8" />
    <link rel="icon" href="%PUBLIC_URL%/favicon.ico" />
    <meta name="viewport" content="width=device-width, initial-scale=1" />
    <meta name="theme-color" content="#000000" />
    <meta
      name="description"
      content="Web site created using create-react-app"
    />
    <link rel="apple-touch-icon" href="%PUBLIC_URL%/logo192.png" />
    <!--
      manifest.json provides metadata used when your web app is installed on a
      user's mobile device or desktop. See https://developers.google.com/web/fundamentals/web-app-manifest/
    -->
    <link rel="manifest" href="%PUBLIC_URL%/manifest.json" />
    <!--
      Notice the use of %PUBLIC_URL% in the tags above.
      It will be replaced with the URL of the `public` folder during the build.
      Only files inside the `public` folder can be referenced from the HTML.

      Unlike "/favicon.ico" or "favicon.ico", "%PUBLIC_URL%/favicon.ico" will
      work correctly both with client-side routing and a non-root public URL.
      Learn how to configure a non-root public URL by running `npm run build`.
    -->
    <title>React App</title>
  </head>
  <body>
    <noscript>You need to enable JavaScript to run this app.</noscript>
    <div id="root"></div>
    <!--
      This HTML file is a template.
      If you open it directly in the browser, you will see an empty page.

      You can add webfonts, meta tags, or analytics to this file.
      The build step will place the bundled scripts into the <body> tag.

      To begin the development, run `npm start` or `yarn start`.
      To create a production bundle, use `npm run build` or `yarn build`.
    -->
  </body>
</html>
index.js
index.js를 보면 root ID를 가져와서 render() 함수로 랜더링 해주는 것을 볼 수 있습니다.
render해주는 것을 보면 App을 랜더링 해준다고 되있는데요.
이것은 App.js를 랜더링 해준다는 의미입니다.
import React from 'react';
import ReactDOM from 'react-dom/client';
import './index.css';
import App from './App';
import reportWebVitals from './reportWebVitals';

const root = ReactDOM.createRoot(document.getElementById('root'));
root.render(
  <React.StrictMode>
    <App />
  </React.StrictMode>
);

// If you want to start measuring performance in your app, pass a function
// to log results (for example: reportWebVitals(console.log))
// or send to an analytics endpoint. Learn more: https://bit.ly/CRA-vitals
reportWebVitals();
App.js
랜더링의 주체이기 때문에 대부분의 코딩은 여기 app.js에서 발생합니다!
import logo from './logo.svg';
import './App.css';

function App() {
  return (
    <div className="App">
      <header className="App-header">
        <img src={logo} className="App-logo" alt="logo" />
        <p>
          Edit <code>src/App.js</code> and save to reload.
        </p>
        <a
          className="App-link"
          href="https://reactjs.org"
          target="_blank"
          rel="noopener noreferrer"
        >
          Learn React
        </a>
      </header>
    </div>
  );
}

export default App;
절대경로로 import 지정하기
apps.js 상단에서 보셨듯이 여러가지 파일들을 import 해줄 수 있는데요.
이때 상대경로로 입력을 하게 되면 입력이 힘들어지고 구분하기도 쉽지 않습니다.
때문에 프로젝트 디렉토리와 동일한 설정 파일을 만들어 절대 경로를 지정해줍니다
jsconfig.json 파일을 만듭니다.
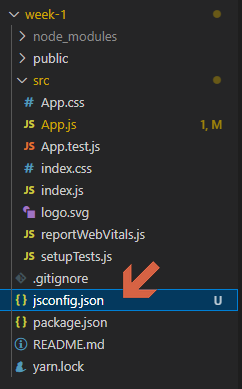
jsconfig.json 파일에 다음 내용을 작성해줍니다.
{
    "compilerOptions": {
        "baseUrl": "src"
    },
    "include": ["src"]
}
이제 src 위치를 기반으로 하기 때문에 ‘./’ 와 같은 상대 경로 입력해주지 않아도 됩니다
import './App.css'; -> import 'App.css'; 가능
지금까지 패키지 메니저 설치, CRA, 절대경로 import로 수정까지 React의 기본 세팅을 맞춰보았습니다.
다음부터는 본격적으로 React에 대한 기본 개념들을 공부해보도록 하겠습니다.
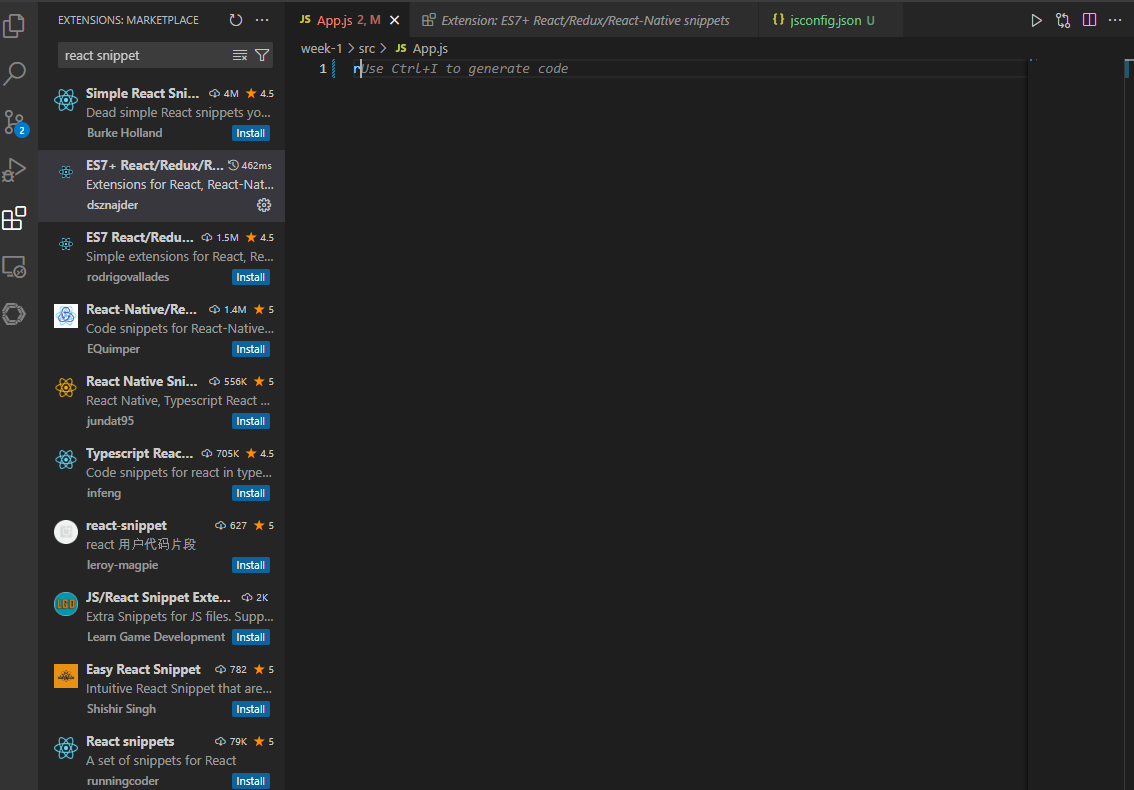
유용한 VS Code extension
Extension에서 ‘react snippet’을 검색한 뒤, 아래 확장팩을 설치합니다.

설치 후에 아래와 같이 rfc 혹은 rfce를 입력하면 component를 구성하는 데 필요한 요소들을 만들 수 있습니다.
참고하면 좋은 글